Cleaning your night guard is simple, and important. No need to overthink it.

Your first instinct is probably right: when you take out your teeth grinding guard in the morning, you should first rinse it with water. In my experience, most of the time rinsing it with water vigorously (cold or warm, but not super hot) is plenty to keep it clean on an ongoing basis. You can give it a bit of a brush with a toothbrush as well if you see specific areas that you want to be cleaner, but always finish up with a rinse in water, and let it dry out in the air.
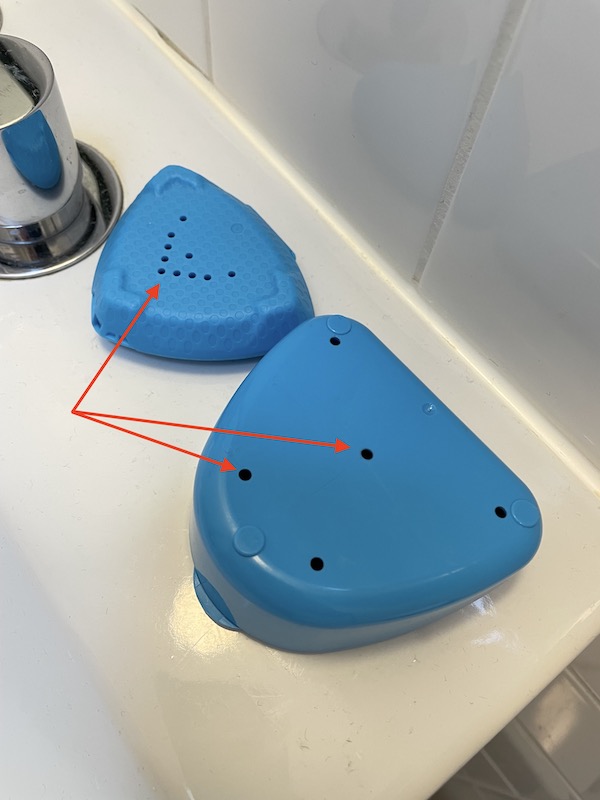
Many of the night guard cases will have small air holes in them to make sure that if you put the night guard straight back in that it will eventually dry. Moisture is generally bad for the growth of bacteria etc. so better to ensure dryness whenever possible.
So most days, that’s going to be your routine to keep your night guard nice and clean, but occasionally you’re going to want to do a deeper clean, as over time you can get build ups of calcium on your guard, a yellowing color, or even a bit of a bad smell. All of these are good signs to get started with a deep night guard clean.
Deep Clean Methods
There’s multiple ways you can do this, and often it will depend on the material your guard is made of. I once made the mistake of putting one of my “boil and bite” night guards that was made of a weird material into rubbing alcohol for a while. I then wore it that night and woke up to what felt like minor chemical burns on my gums! I figured out that whatever the material was, it had soaked up some of the rubbing alcohol and basically just let it absorb onto my gums through the night. So be careful, and ideally look at the instructions on your specific brand of night guard.
Mouthwash method:
The mouthwash deep clean method involves putting a little mouthwash in a container with water and your night guard, and letting it sit for a while (10-30mins). Generally, when i’m using the deeper clean methods like this, i’ll also give the guard a gentle brush to be sure. Once I’m making a bigger effort to clean, I may as well go all in. Lastly, rinse it with water, and let it dry fully.
Hydrogen Peroxide method:
Another common option that many households have on hand is hydrogen peroxide (the dilute kind you can get at the pharmacy). As with the mouthwash, let it sit for 10 – 30 mins along with a little water to further dilute it, then pull out the night guard and give it another rinse before you let it dry. Brushing before that final rinse is of course an option!
Ultrasonic cleaner method:
I’ll admit I’ve never tried this, but I’ve seen some compelling videos of people using these seemingly simple devices that pulse ultrasound at your night guard. This kills the bacteria and knocks loose debris to clean it. The big advantage here is that no chemicals are used in the process, so it’s really simple. Sometimes these ultrasonic cleaners will have UV lights built in to further ensure bacteria get killed. I think you can pick these up on Amazon, and certainly from some of the Direct to Consumer mouth guard companies.
Denture cleaner method:
This is made for purpose stuff you can buy at the pharmacy, and maybe even your dentist. There’s just something about the word ‘denture’ that makes me feel super old, so i refuse to even entertain the idea. I have mouthwash and hydrogen peroxide already, so I don’t need to spend money on a specialized option, even if it maybe gives a tiny bit better of a clean because it’s specialized.
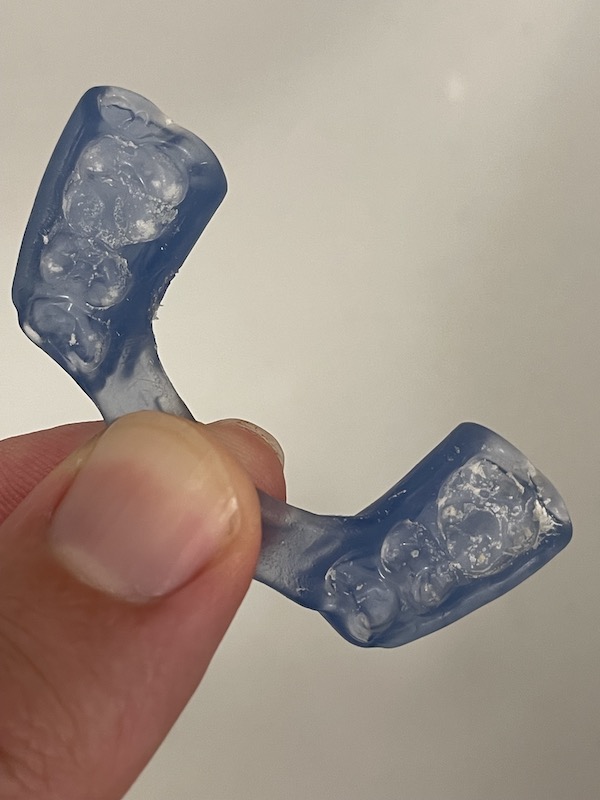
How to clean calcium deposits from your mouthguard
Sometimes you might notice a build up of whitish or yellowish material on your mouthguard around where your teeth are. When bacteria combine with plaque buildup and saliva, calcium spots can form so it’s not unusual to see these at all. It’s easier to prevent them in the first place with a regular cleaning routine like we’ve outlined above. But if you do find yourself with calcium deposits, the best approach to removing them is by adding some kind of abrasion with a soft bristled brush like your toothbrush, after you’ve soaked the mouthguard in some vinegar first. Your dental hygienist can also help you clean your mouthguard when you go in for your regular cleaning.
Conclusion
In conclusion, most of the time, you’re going to be rinsing off your night guard THOROUGHLY in the morning, and then leaving it to dry completely. Not to bury the lede here, but this drying step is as important as the rinse step. Moisture allows all sorts of grossness to take place, so better to just make sure that thing gets fully dry before it goes anywhere near your mouth again.
If you’re not deep cleaning your night guard weekly (or at worst, fortnightly) then you’re being gross, and need to do better. If you share the bed with someone else… they’ll thank you for maintaining a clean nightguard.

Leave a comment